 |
| Count Almaviva from The Marriage of Figaro |
I have known Susan Whitfield almost all my life. She came to work at Ricks College (later BYU-Idaho) in the early 70's and worked with my father in the Theatre Department. For 18 years she designed and built all the costumes for all the theatre department's shows as well as taught a full load of classes. The college eventually hired a costume shop director and for the last 23 years she has been able to design the costumes but not build them. She has also served as the department chair more than once.
In 2000, I became her colleague when I was hired to teach at Brigham Young University-Idaho. In that time we worked on the addition to the Snow Building together and she oversaw the construction of a new theatre wing including a new black box theatre and a new costume shop with compact storage. With all the things she has done, no-one has really ever recognized her for her accomplishments. I think we all tend to take one another for granted alot of the time.
At some point, Susie started talking about retirement and I resolved to do something to show to the campus community what I had come to know about Susan Whitfield. I conceived of a gallery exhibit with mannequins dressed in some of her best costumes on display either in the lobbies of the Snow Building or better yet in the Spori Gallery. I started talking about this exhibit around five years ago to deans and department chairs as well as the curator of the BYI-Idaho art collection. At first the idea was received kind of tepidly, almost as if it were a good idea but would require alot of work to do. Over the course of the next few years deans and department chairs were changed and new attitudes prevailed.
As Susie grew closer to retirement the idea began to be more of a priority. Our new department chair, Richard Clifford bought into the idea and did alot of the legwork to convince the gallery manager that we needed to do this and then he bought 10 mannequins for the exhibit. The thought was, no matter what we were going to do this, even if we had to curate the exhibit in our own building.
Permission was granted and the show was scheduled for Spring Semester, 2012 in the Spori Gallery. Richard, Kyoung Dabell (the gallery manager) and I designed the exhibit from the middle of February of this year to opening night which was at the end of April. We selected costumes to be shown based on several criterion. First we wanted to show the best of her work, second we wanted to show variety, and third we wanted to show costumes designed over a long period of time.
Count Almaviva's costume from The Marriage of Figaro was the opening piece in the show. The photo at the beginning of this blog post is that costume.
To the left we had two female mannequins dressed in Aunt Abby and Aunt Martha's funeral dresses and one male dressed as Teddy from Arsenic and Old Lace. There was also some interpretive materials that included a brief description of the costumes and concepts as well as additional photos, but these were not in place when I photographed the exhibit.
 |
| Aunt Abby, Teddy and Aunt Martha from Arsenic and Old Lace |
Further to the left of the gallery and around a corner is what we called the "Biblical Room". On one wall we had the wedding garb of Mary and Joseph from Savior of the World and on the other wall we had the costumes of the three kings from the opera Amahl and the Night Visitors. These costumes were not on mannequins but hung on custom hangers that I designed and Richard and I built. We stuffed the costumes to fill them out and hung them from wrought iron hooks on the walls.
 |
| Joseph and Mary's wedding garb from Savior of the World |
 |
| Kings Kaspar, Melchior and Balthazar from Amahl and the Night Visitors |
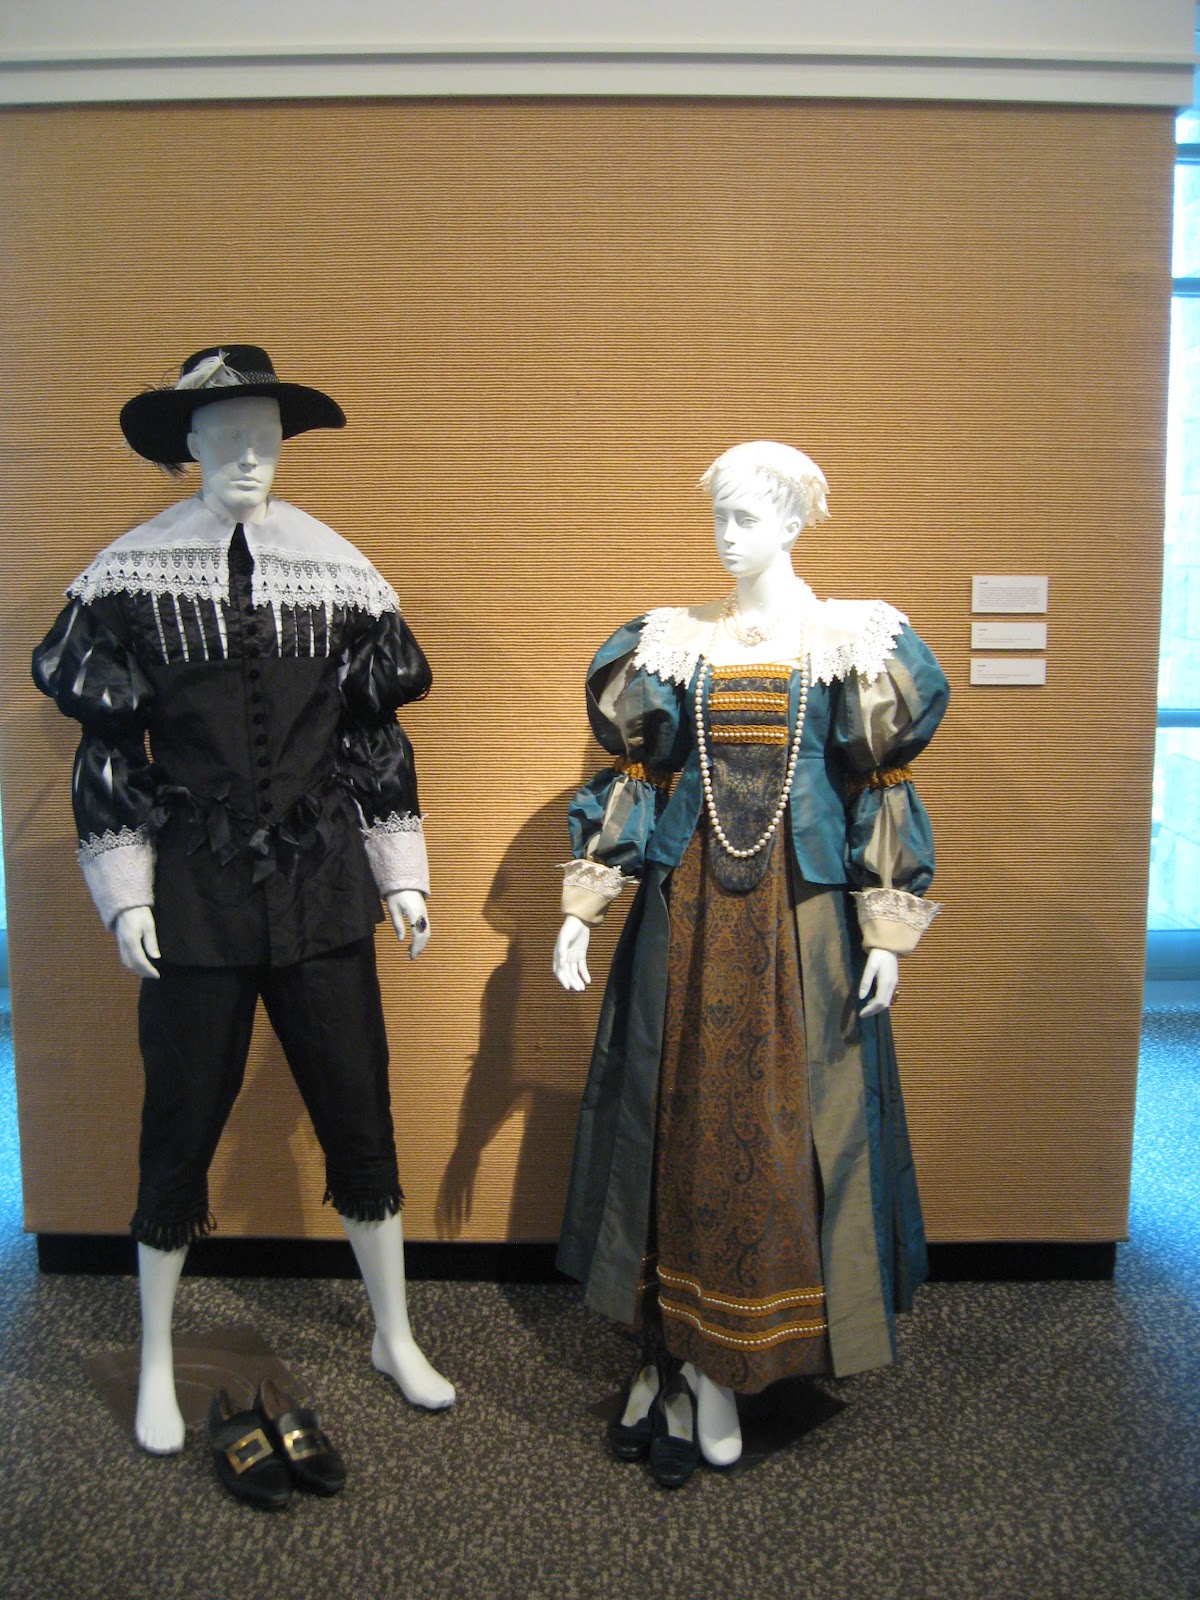
On the exterior wall in the "Biblical" room we had a couple of stands with hats on them, then opposite on a movable pylon we had the two wedding dresses, one pristine and one distressed from The Taming of the Shrew.
 |
| Snood from Life is a Dream, hand beaded by Susan Whitfield |
 |
| Wedding dresses from The Taming of the Shrew |
In the center room we had an eclectic group of costumes beginning with Goods from Everyman which was a modern couture abstraction of medieval ideas. Susan embroidered the big panel in the back of the jacket. Opposite Goods were Orgon and Elmire from Tartuffe. On one of the side walls in the center room we had Lady Bracknell from The Importance of Being Earnest and on the other we had a victorian lady's outdoor dress from Abe Lincoln in Illinois. This was the oldest piece in the show and was made nearly twenty years ago. I especially like how the bonnet is displayed with this outfit.
 |
| Goods from Everyman |
 |
| Orgon and Elmire from Tartuffe |
 |
| Lady Bracknell from The Importance of Being Earnest |
 |
| Lady's dress and bonnet from Abe Lincoln in Illinois |
In the other main room of the gallery we had a trio of costumes on mannequins from what I believe to be Susie's best show, Life is a Dream. This show was produced in fall of 2011. I find it remarkable that Susie is doing her best work at the end of her career. She's going out on top. I respect that immensely.
The costumes from left to right are Duke Astolfo, Princess Estrella and King Basil. Each of these costumes and most of the others in the show had handstitched ruffs around the neck and the cuffs. Susie stitched on many of these as well as other workers in the costume shop. Princess Estrella's dress is gathered in cartridge pleats where the skirt and bodice meet. One of the things I think set's Susie apart from many costume designers is her attention to detail, especially on period garments. Estrella's underskirt is made from a piece of heavy chenille that Susie and I have been "fighting" over for twelve years. I have wanted to use it for upholstery and curtains and she had been saving it for about twenty years to use on an Elizabethan gown. She won!
 |
| Astolfo, Estrella and Basil from Life is a Dream |
Finally, the last room of the exhibit is what we called the process room. We designed it to be an interpretation of Susie's design and production process. It started with a table with a script of Life is a Dream, some research for the play and finally some of her sketches in progress for the show. Across from the table is a pattern making and cutting station to show the next step in the process. After that is an industrial sewing machine we borrowed from the shop and then there are three dress forms, one male with King Basil's heavy sleeve made as a fitting shell and the other two dressed in other costumes. One was a woman's costume from Athaliah and the other was Adela's green flamenco dress from The House of Bernarda Alba. Finally, on the last wall were three hats. Kyoung always likes to put something quirky on that wall since it is the least visible one in the gallery.
 |
| The design station |
 |
| The cutting table |
 |
| Industrial machine with suit form. Basil's sleeve was fitted the day after this photo |
 |
| Dress from Athaliah and Adela's dress from The House of Bernarda Alba |
 |
| The quirky hat wall |
In addition to the costumes on the walls and mannequins, for the gallery opening we had seven students dressed in costumes Susie had designed. For the most part they were costumes that the individuals had worn on stage at one time or another.
 |
| Susie and the students |
For my part, this was a labor of love. It's something I've been invested in for the better part of five years. It was a joy to do and absolutely satisfying once it was complete. I'm thankful to have been a colleague of Susan Whitfield.
The gallery opening was from 7 to 9, April 26th, 2012. It was a heavily attended event from the opening to about 8:30. The last half hour the crowd thinned out but we were still greeting people almost until nine. It was a great night.
This exhibit will be on display until May 18th, 2012. It's well worth seeing.
 |
| Susan Whitfield and Me |


